The Installation Dos & Don’ts
Check out our video where we attempt to break some retractable banner stands!
UNPACKING COMPONENTS
When unpacking components, although as tempting as it is, don’t pull the pin. It is important to leave the pin inserted to lock the tension until the banner is properly installed.
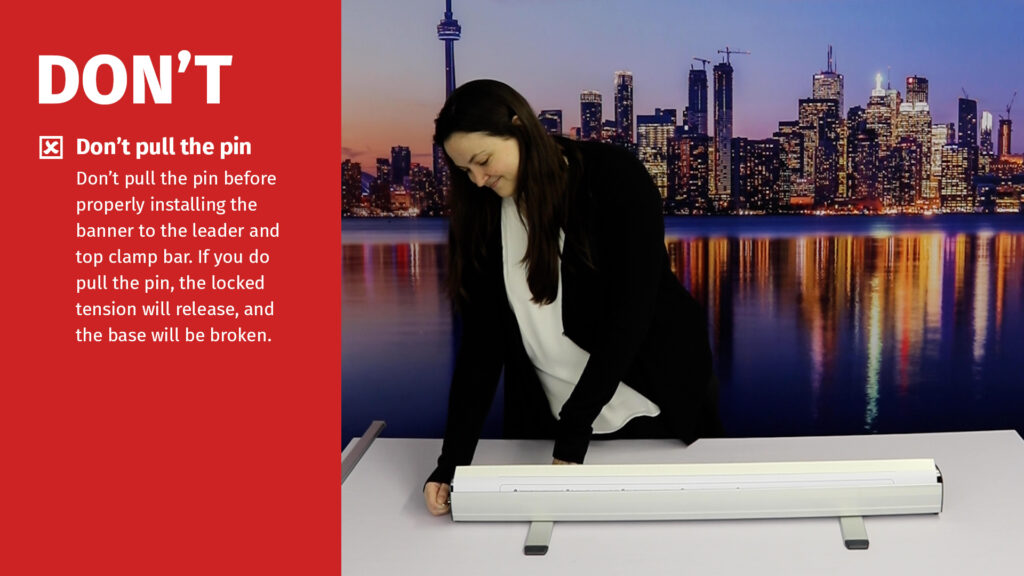
❌ Don’t pull the pin before properly installing the banner to the leader and top clamp bar. If you do pull the pin, the locked tension will release, and the base will be broken.
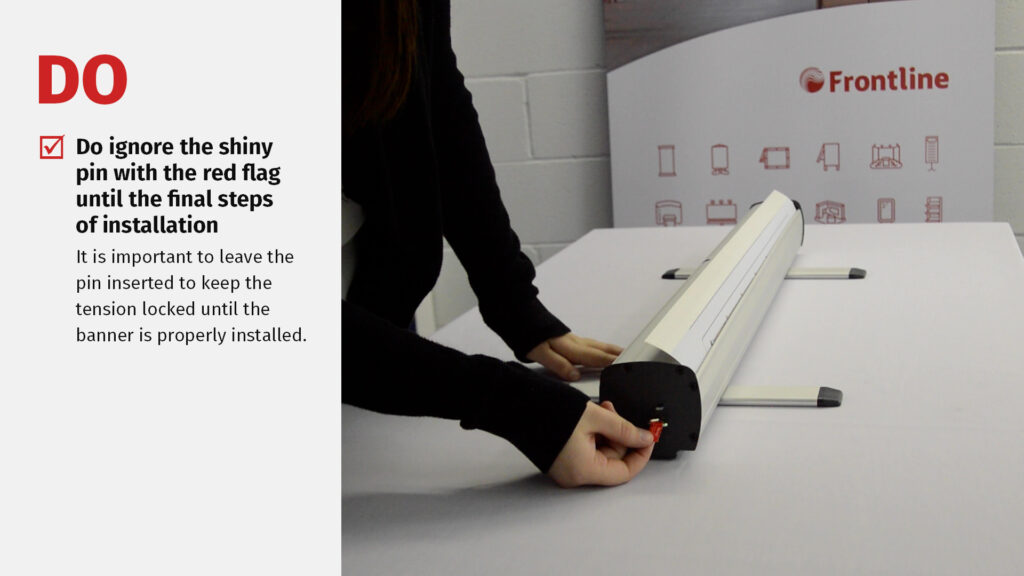
✔️ Do ignore the shiny pin with the red flag until the final steps of installation. It is important to leave the pin inserted to keep the tension locked until the banner is properly installed.
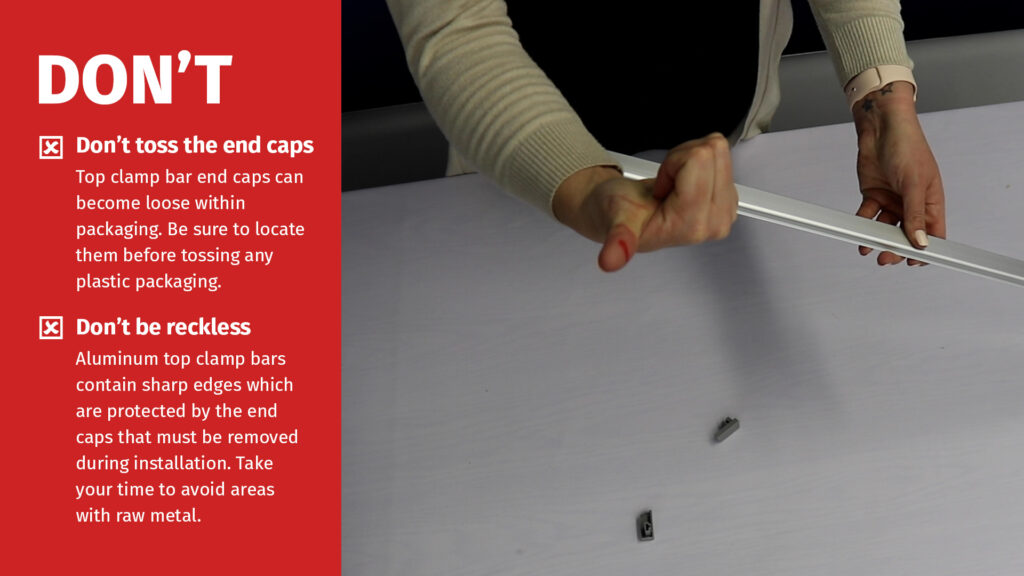
❌ Don’t toss the end caps. Top clamp bar end caps can become loose within packaging. Be sure to locate them before tossing any plastic packaging.
❌ Don’t be reckless. Aluminum top clamp bars contain sharp edges which are protected by the end caps that must be removed during installation. Take your time to avoid areas with raw metal.
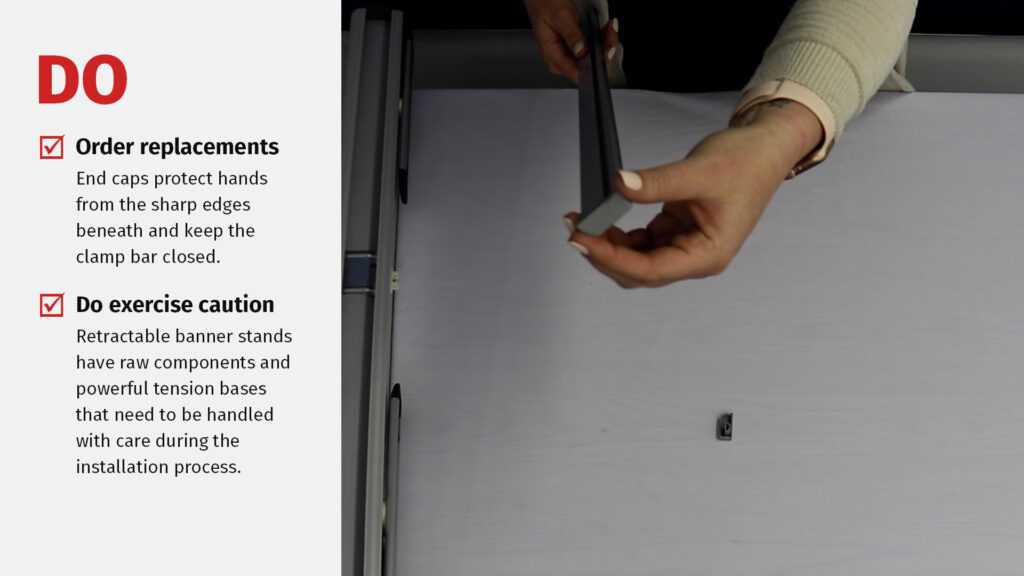
✔️ Do order replacements if you need to. End caps protect hands from the sharp edges beneath and keep the clamp bar closed.
✔️ Do exercise caution. Retractable banner stands have raw components and powerful tension bases that need to be handled with care during the installation process.
INSTALLING THE TOP CLAMP BAR
Although this step may be easy for a seasoned installer, small errors made in this stage due to rushing can cause larger issues that impact the aesthetics, usability, and overall lifespan of the product.
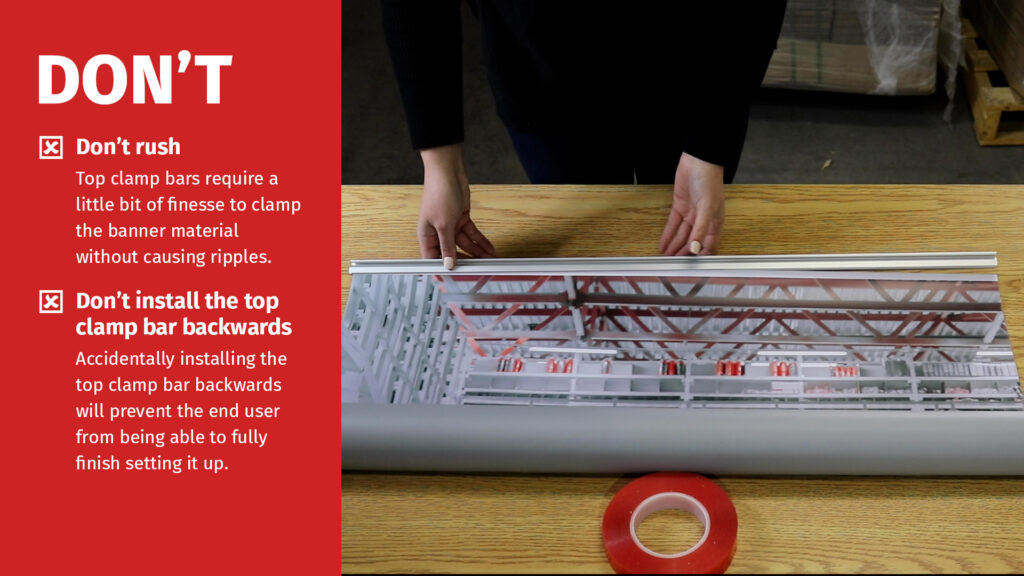
❌ Don’t rush through the installation process. Top clamp bars require a little bit of finesse to clamp the banner material without causing ripples.
❌ Don’t install the top clamp bar backwards. Accidentally installing the top clamp bar backwards will prevent the end user from being able to fully finish setting it up. Take your time and double check your work.
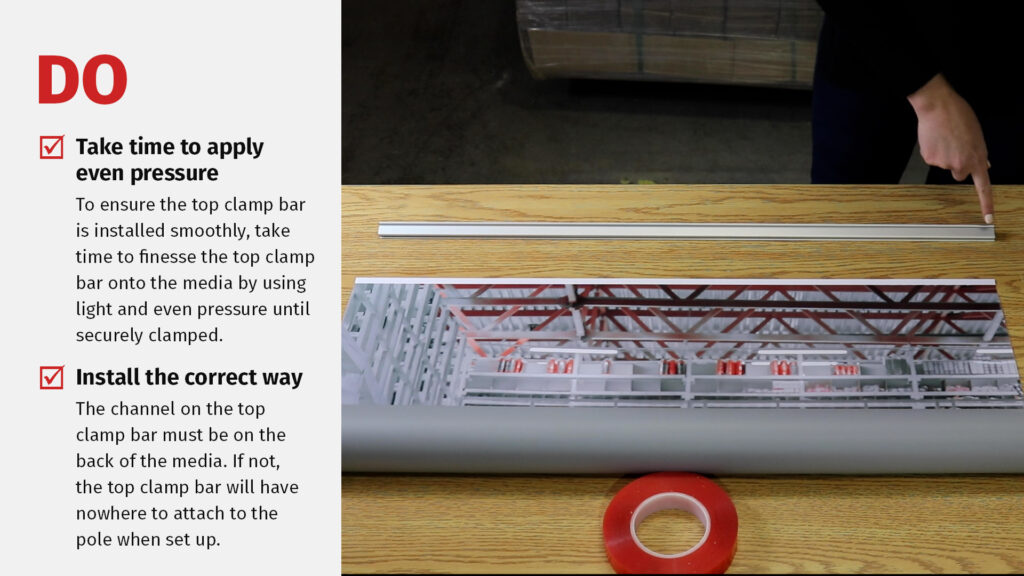
✔️ Take time to apply even pressure across the top clamp bar. To ensure the top clamp bar is installed smoothly, take time to finesse the top clamp bar onto the media by using light and even pressure until securely clamped.
✔️ Be sure to install the top bar the correct way. The channel on the top clamp bar must be on the back of the media. If not, the top clamp bar will have nowhere to attach to the pole when set up. Take your time and check your work.
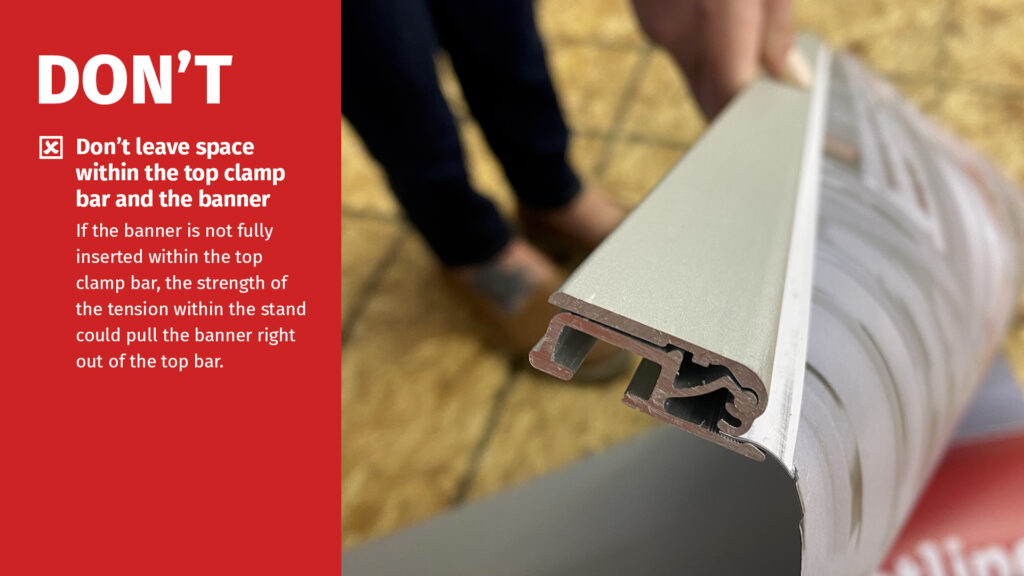
❌ Don’t leave space within the top clamp bar and the banner. If the banner is not fully inserted within the top clamp bar, the strength of the tension within the stand could pull the banner right out of the top bar.
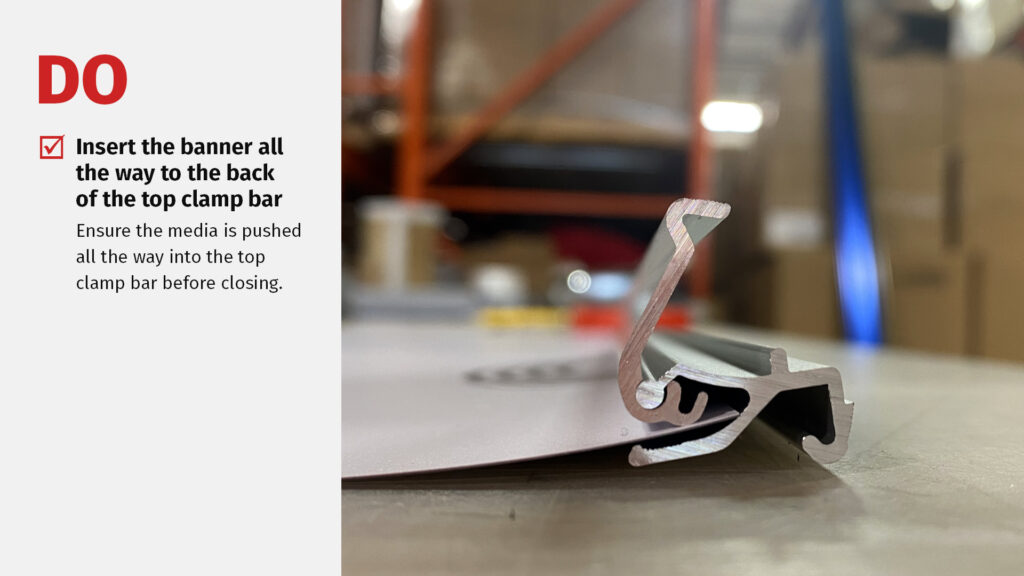
✔️ Insert the banner all the way to the back of the top clamp bar. Ensure the media is pushed all the way into the top clamp bar before closing.
DESIGNING, PRINTING, & TRIMMING
Your banner is the foundation, and a correctly sized foundation is key.
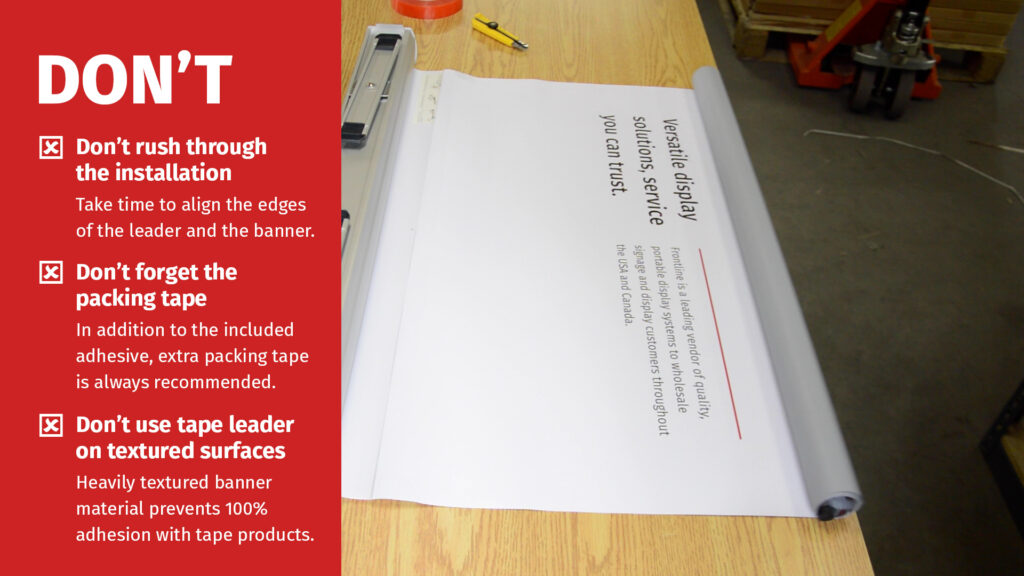
❌ Don’t design or trim the banner too short. Visible graphic size is different than the dimensions of the final trimmed product.

✔️ Use the correct graphic template. Custom graphic templates are available for every product in our catalog. Final trimmed banners should always include at least 6 inches of additional material that will be hidden in the base. Following the design template and included crop marks will ensure this common error is avoided.
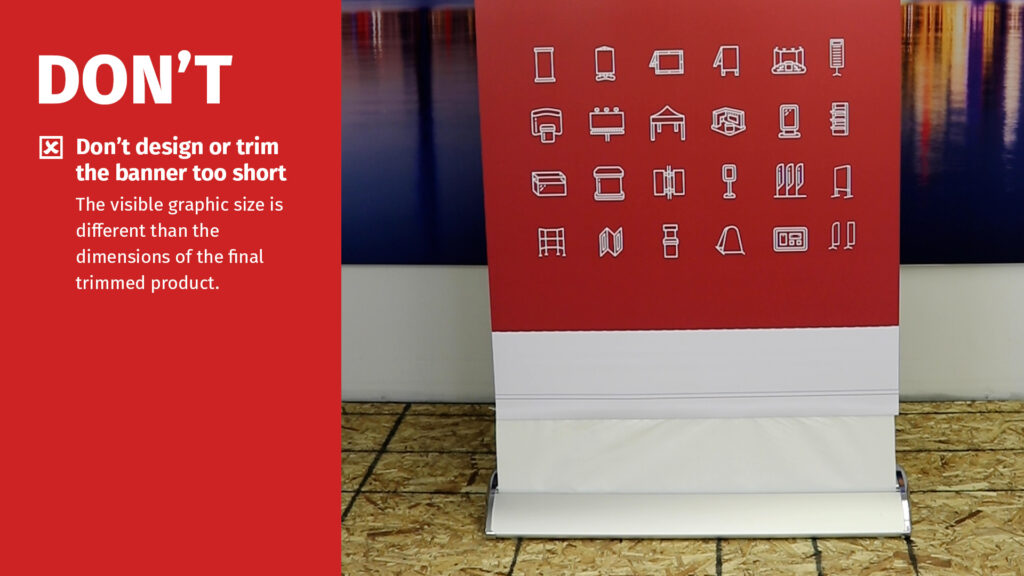
❌ Don’t rush through the installation. Take time to align the edges of the leader to the edges of the banner, and ensure the double-sided adhesive overlaps the banner completely.
❌ Don’t forget the packing tape. Although the included adhesive is very strong, extra packing tape is always recommended on the front and back of the seams between the banner and leader.
❌. Don’t use banners with too much texture. A smooth banner material is always recommended, as heavily textured banner material prevents 100% adhesion with tape products.
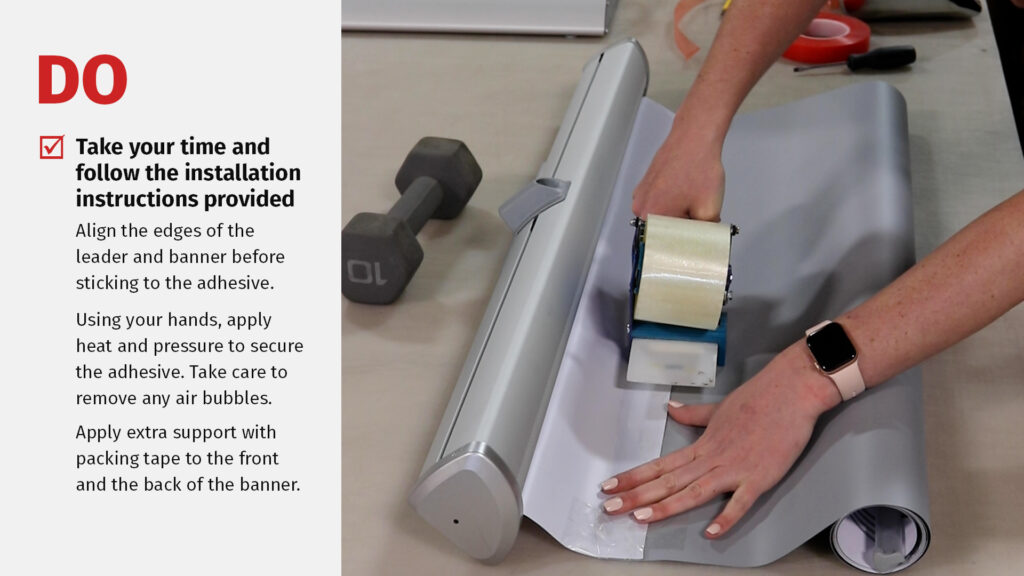
✔️ Take your time and follow the installation instructions provided. Align the edges of the leader and banner before sticking to the adhesive. Using your hands, apply heat and pressure to secure the adhesive. Take care to remove any air bubbles. Apply extra support with packing tape to the front and the back of the banner.
ADDITIONAL NOTES
Take your time.
When you are ready to pull the pin and release the tension, it is recommended that you hold onto the banner tightly to ensure it does not snap at you when the pin is pulled. Allowing the banner to retract into the base slowly prevents the banner being damaged on the sides as it wraps around the roller inside.
Set it up!
99% of claims can be avoided by setting up the banner stand before packing it away and shipping it to the customer. If any step above was done incorrectly, or there is an underlying issue with the hardware, this is a great opportunity to find out before the customer does.
Don’t skip a step or autopilot the installation.
All steps listed above are important to ensure the stand will function properly when the pin in pulled and the tension is released. If the top bar or leader are not installed properly, it can cause damage or injury when setting up the final product.
Use the resources available.
Using the custom graphic template and following instructions will eliminate many common user errors at the stage of installation.

