The Disassembly Dos & Don’ts
Check out our video where we attempt to break some retractable banner stands!
DISASSEMBLING RETRACTABLE BANNER STANDS
Top clamp bars are hard to remove if done improperly, but easy to remove the correct way. If you are having a hard time removing the top clamp bar from the pole, likely you are doing so incorrectly.
Never assume the end user knows how to disassemble the stand correctly. Although manufacturers, distributors, and installers of banner stands understand these tips as basic knowledge, many end users don’t understand the correct and incorrect means of disassembling a retractable banner stand. The best way to avoid common errors outlined here is by educating the end user.
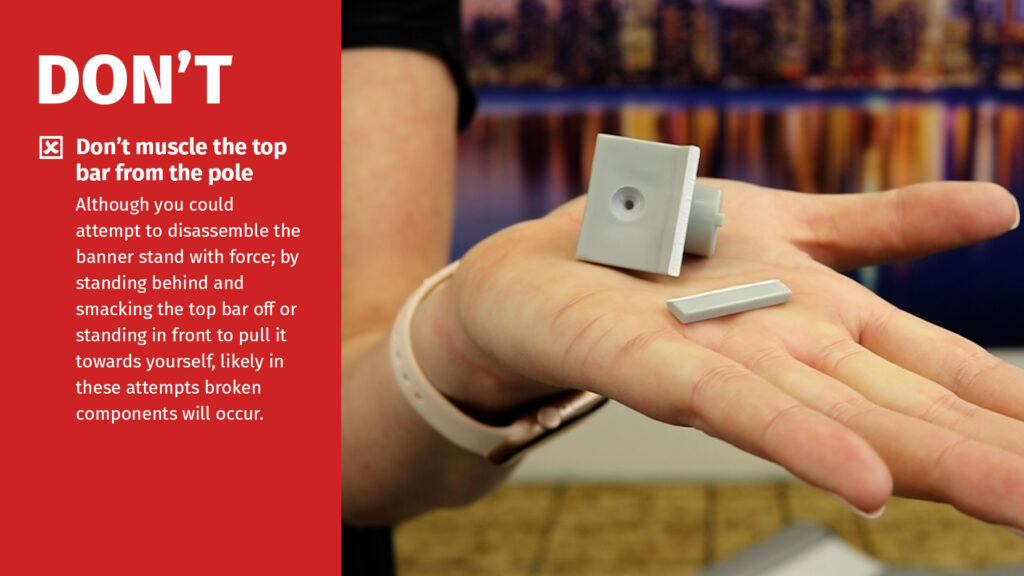
❌ Don’t muscle the top bar from the pole. Although you could attempt to disassemble the banner stand with force; by standing behind and smacking the top bar off or standing in front to pull it towards yourself, likely in these attempts broken components will occur.
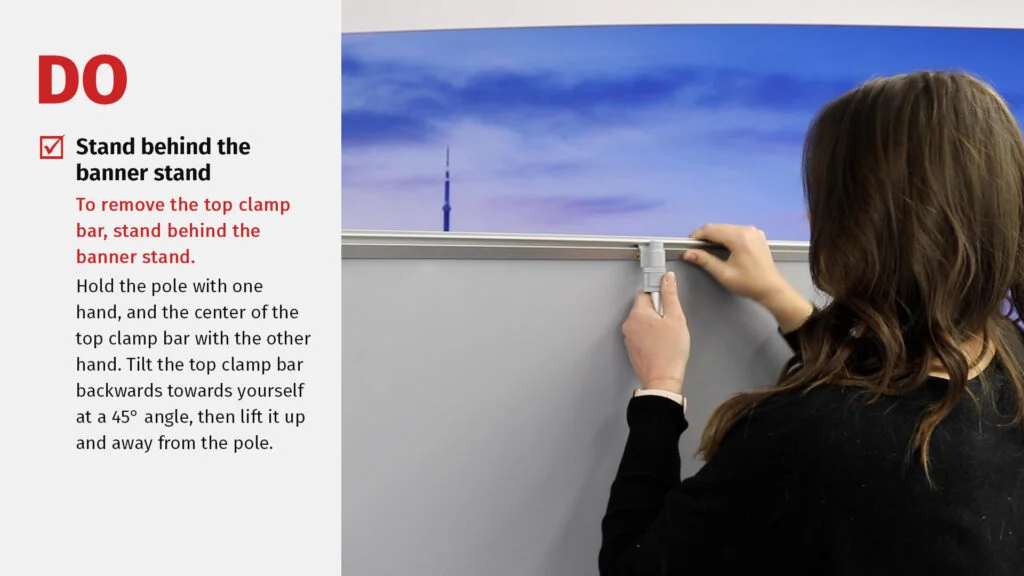
✔️ Do stand behind the banner stand to remove the top clamp bar. Hold the pole with one hand, and the center of the top clamp bar with the other hand. Tilt the top clamp bar backwards towards yourself at a 45° angle, then lift it up and away from the pole.
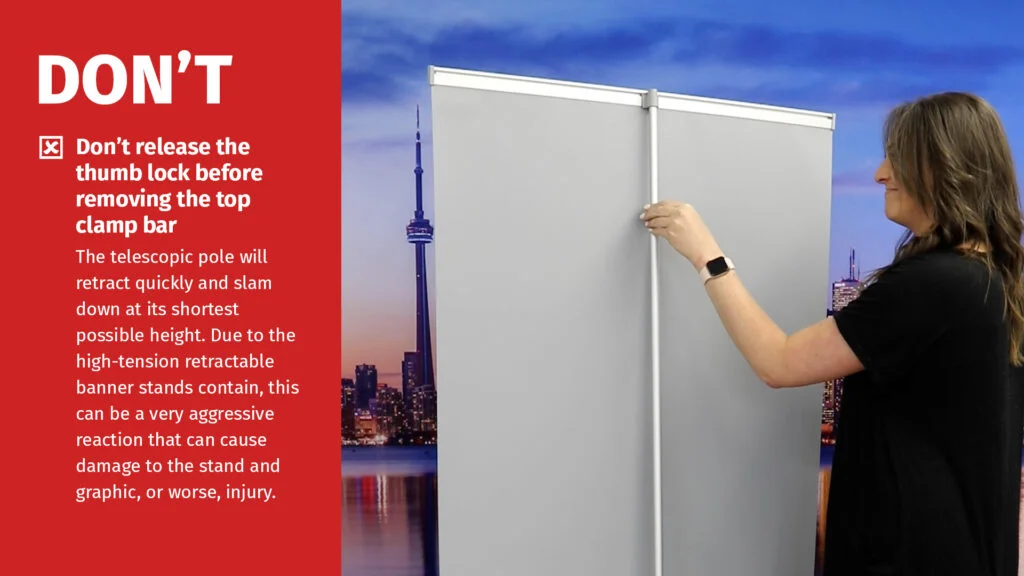
❌ Don’t release the thumb lock before removing the top clamp bar. The telescopic pole will retract quickly and slam down at its shortest possible height. Due to the high-tension retractable banner stands contain, this can be a very aggressive reaction that can cause damage to the stand and graphic, or worse, injury.
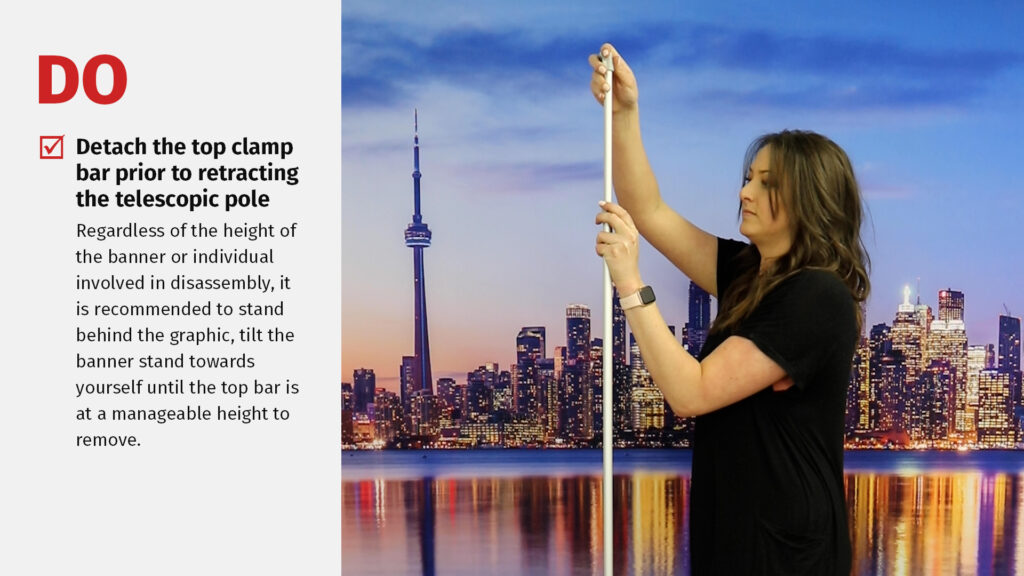
✔️ Detach the top clamp bar prior to retracting the telescopic pole. Regardless of the height of the banner or individual involved in disassembly, it is recommended to stand behind the graphic, tilt the banner stand towards yourself until the top bar is at a manageable height to remove.
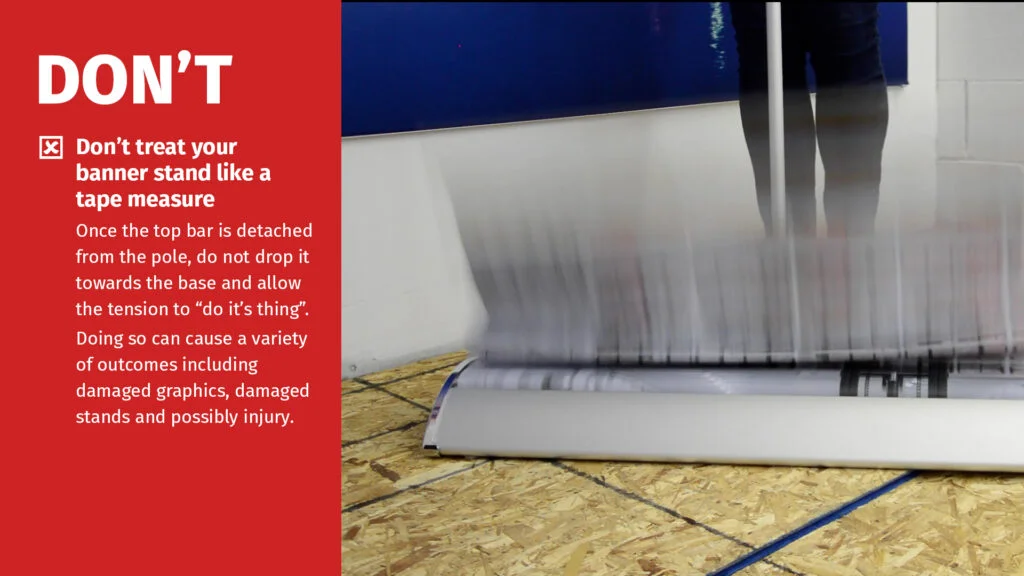
❌ Don’t treat your banner stand like a tape measure. Once the top bar is detached from the pole, do not drop it towards the base and allow the tension to ‘do it’s thing’. Doing so can cause a variety of outcomes including damaged graphics, damaged stands, and possibly injury.
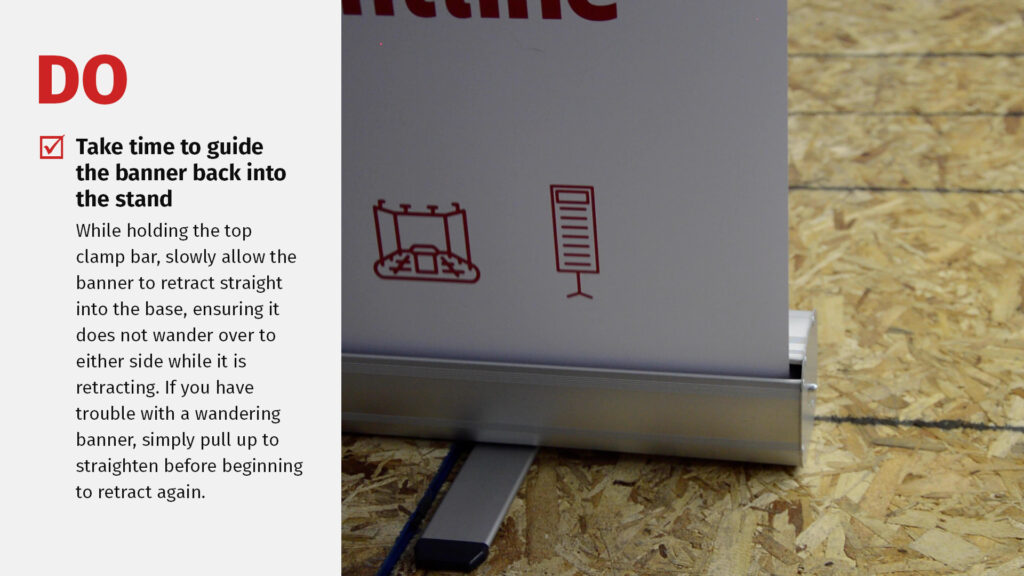
✔️ Take time to guide the banner back into the stand. While holding the top clamp bar, slowly allow the banner to retract straight into the base, ensuring it does not wander over to either side while it is retracting. If you have trouble with a wandering banner, simply pull up to straighten before beginning to retract again.
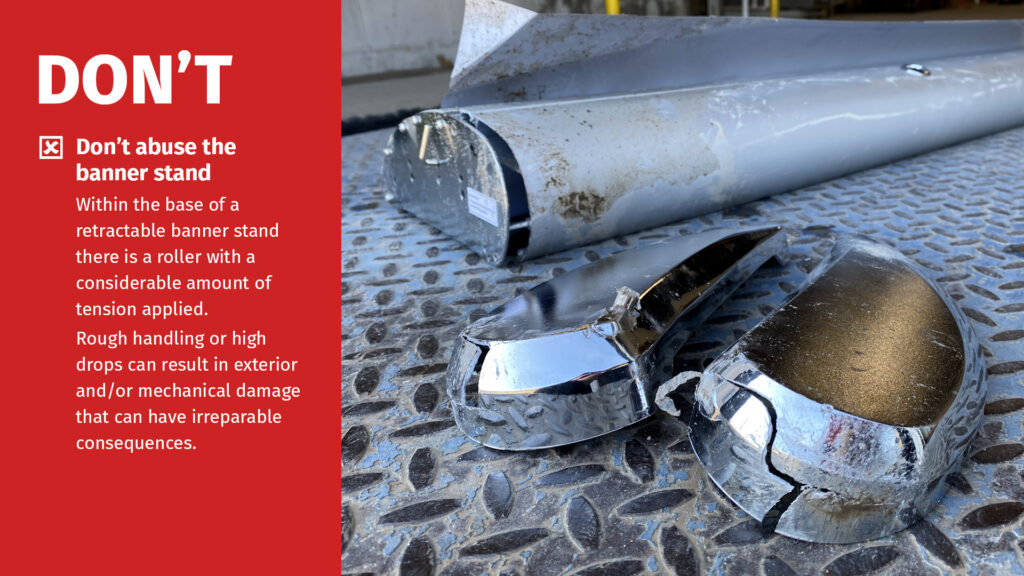
❌ Don’t abuse the banner stand. Within the base of a retractable banner stand there is a roller with a considerable amount of tension applied. Rough handling or high drops can result in exterior and/or mechanical damage that can have irreparable consequences.
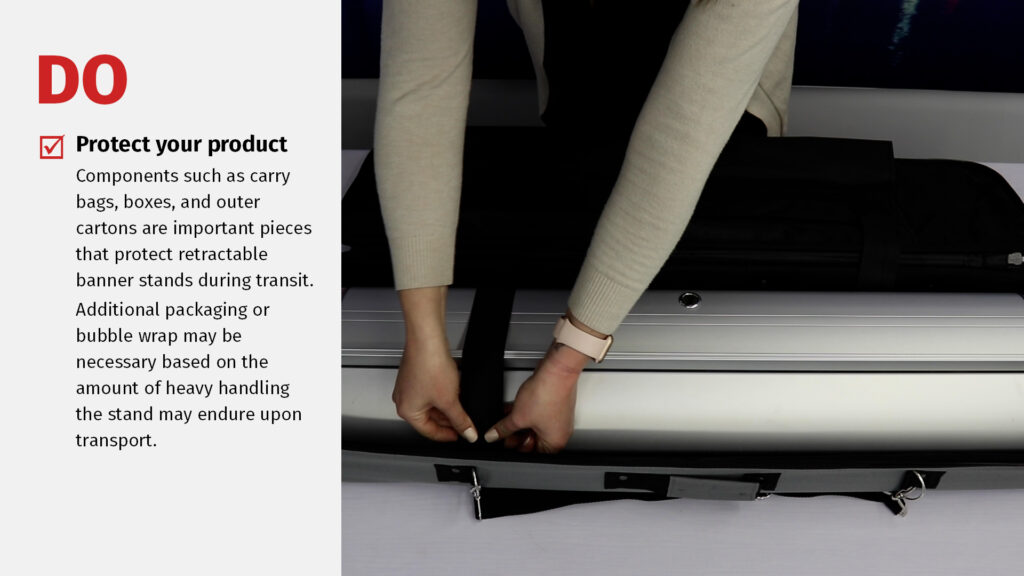
✔️ Protect your product. Components such as carry bags, boxes, and outer cartons are important pieces that protect retractable banner stands during transit. Additional packaging or bubble wrap may be necessary based on the amount of heavy handling the stand may endure upon transport.
ADDITIONAL NOTES
Take your time.
When you are ready to pull the pin and release the tension, it is recommended that you hold onto the banner tightly to ensure it does not snap at you when the pin is pulled. Allowing the banner to retract into the base slowly prevents the banner being damaged on the sides as it wraps around the roller inside.
Set it up!
99% of claims can be avoided by setting up the banner stand before packing it away and shipping it to the customer. If any step above was done incorrectly, or there is an underlying issue with the hardware, this is a great opportunity to find out before the customer does.
Don’t skip a step or autopilot the installation.
All steps listed above are important to ensure the stand will function properly when the pin in pulled and the tension is released. If the top bar or leader are not installed properly, it can cause damage or injury when setting up the final product.
Use the resources available.
Using the custom graphic template and following instructions will eliminate many common user errors at the stage of installation.

